Laser Galvo 3d Resin Printer driven by RPi 2040
Laser SLA 3D Printer (Sorta)
An older, now shelved project aiming to create a 3D resin printer using high speed laser galvometers
How This All Started
I have been interested in 3D printing since I built a MendelMax printer when I was 17 and a Kossel delta printer a couple years later. Late in the Covid season I decided I wanted to branch out beyond the FDM 3d printers I was accustomed building to create a truly scratch built SLA resin printer. This is a project I have recently returned to and I have gotten to a point that I feel comfortable sharing it.
I chose to use the galvo directed laser approach first popularized in maker spaces by Formlabs. This approach seems to have largely been supplanted by the cheaper masked stereolithiography approach. I have one such printer at work with an 8k resolution and a smaller one on my home workbench that cost less than $200. The bill of materials for my custom printer came to much higher that that, and with much less impressive results, but that is not the point.
Discussion of Theory
SLA 3D printing differs fromt the more familiar FDM 3d printing technology, in that instead of heating and extruding a thermoplastic to create layers, it shines a near ultraviolet light, in this case at 405 nm onto a resin to selectively cure and harden planes. Most modern machines, which can now be purchased very cheaply, just mask a lamp with a monocolor lcd screen. Traditionally however these devices worked by steering a laser beam in a raster patern, not unlike an old CRT display, to selectivy expose layers. That technology was first popularized in the consumer and hobby market by Form 1, and that is the technique I was attempting to recreate here.
Whether using an LCD or a rasterized laser, there remains the need for a mechanical z axis. This is implemented with a stepper motor and leadscrew, and repeatedly raises and lowers the build platform a few millimeters for each layer. Over time the build platform gradually raises, and the final part is built upside down, starting at the base layer.
SLA 3D Printer Mainboard Schematic
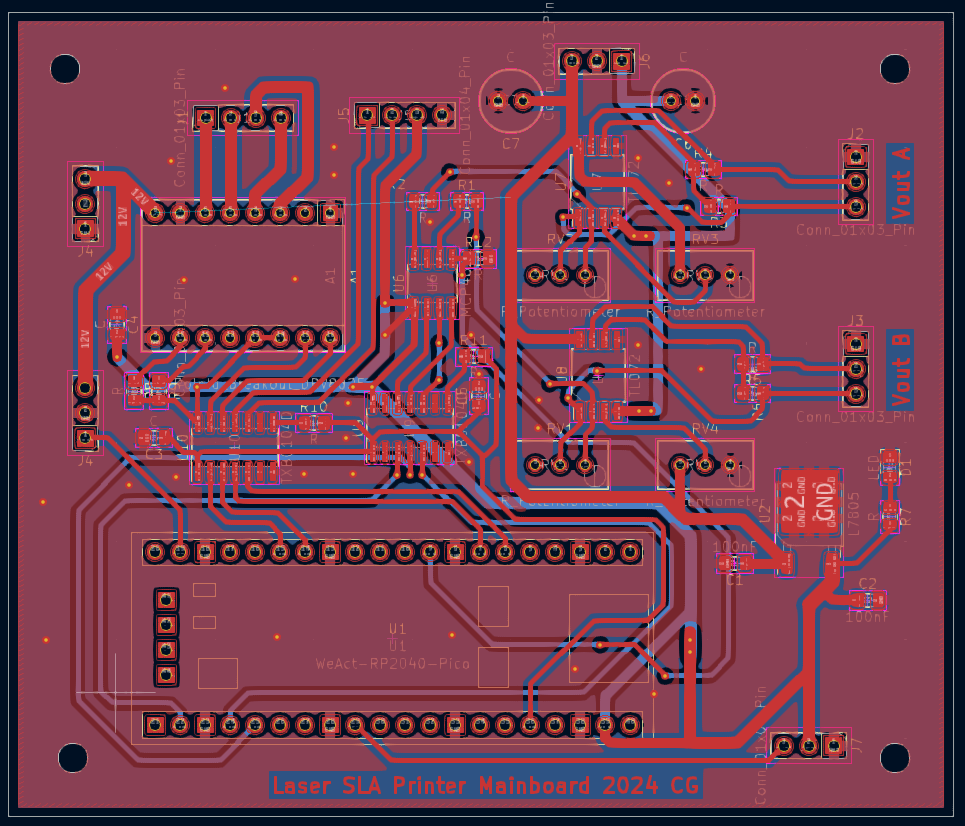
SLA PCB
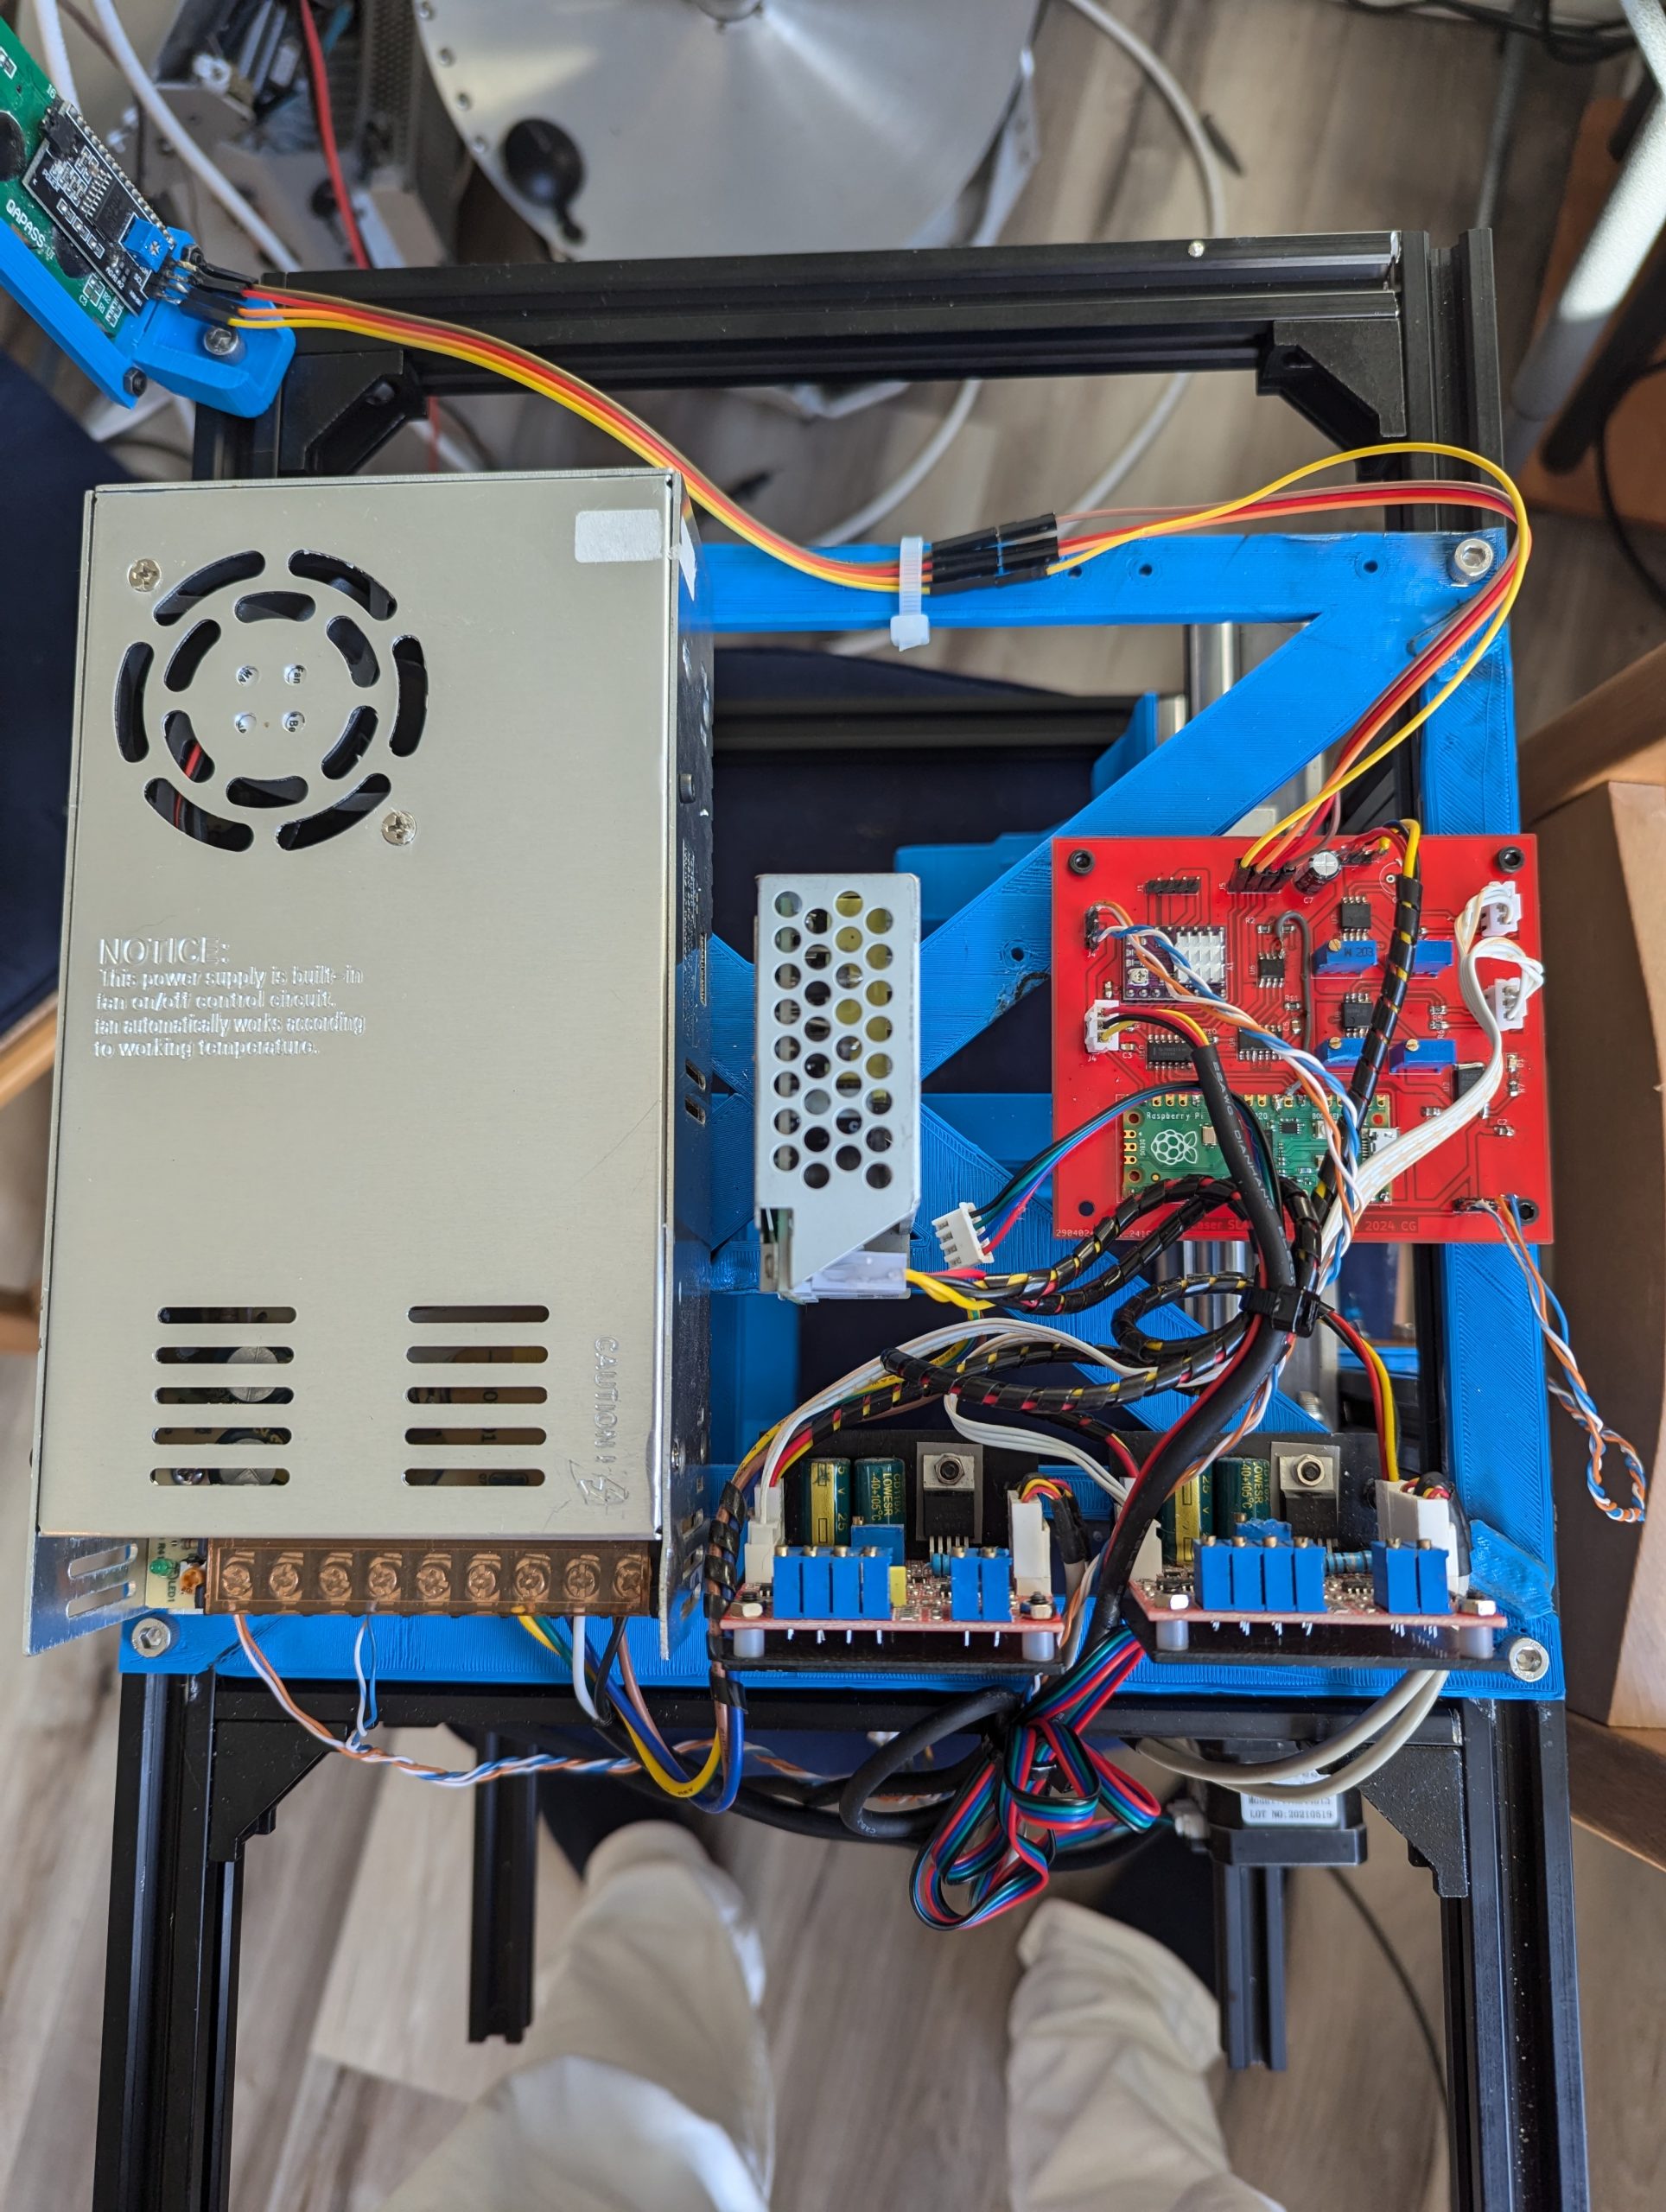
Complete Electronics Package
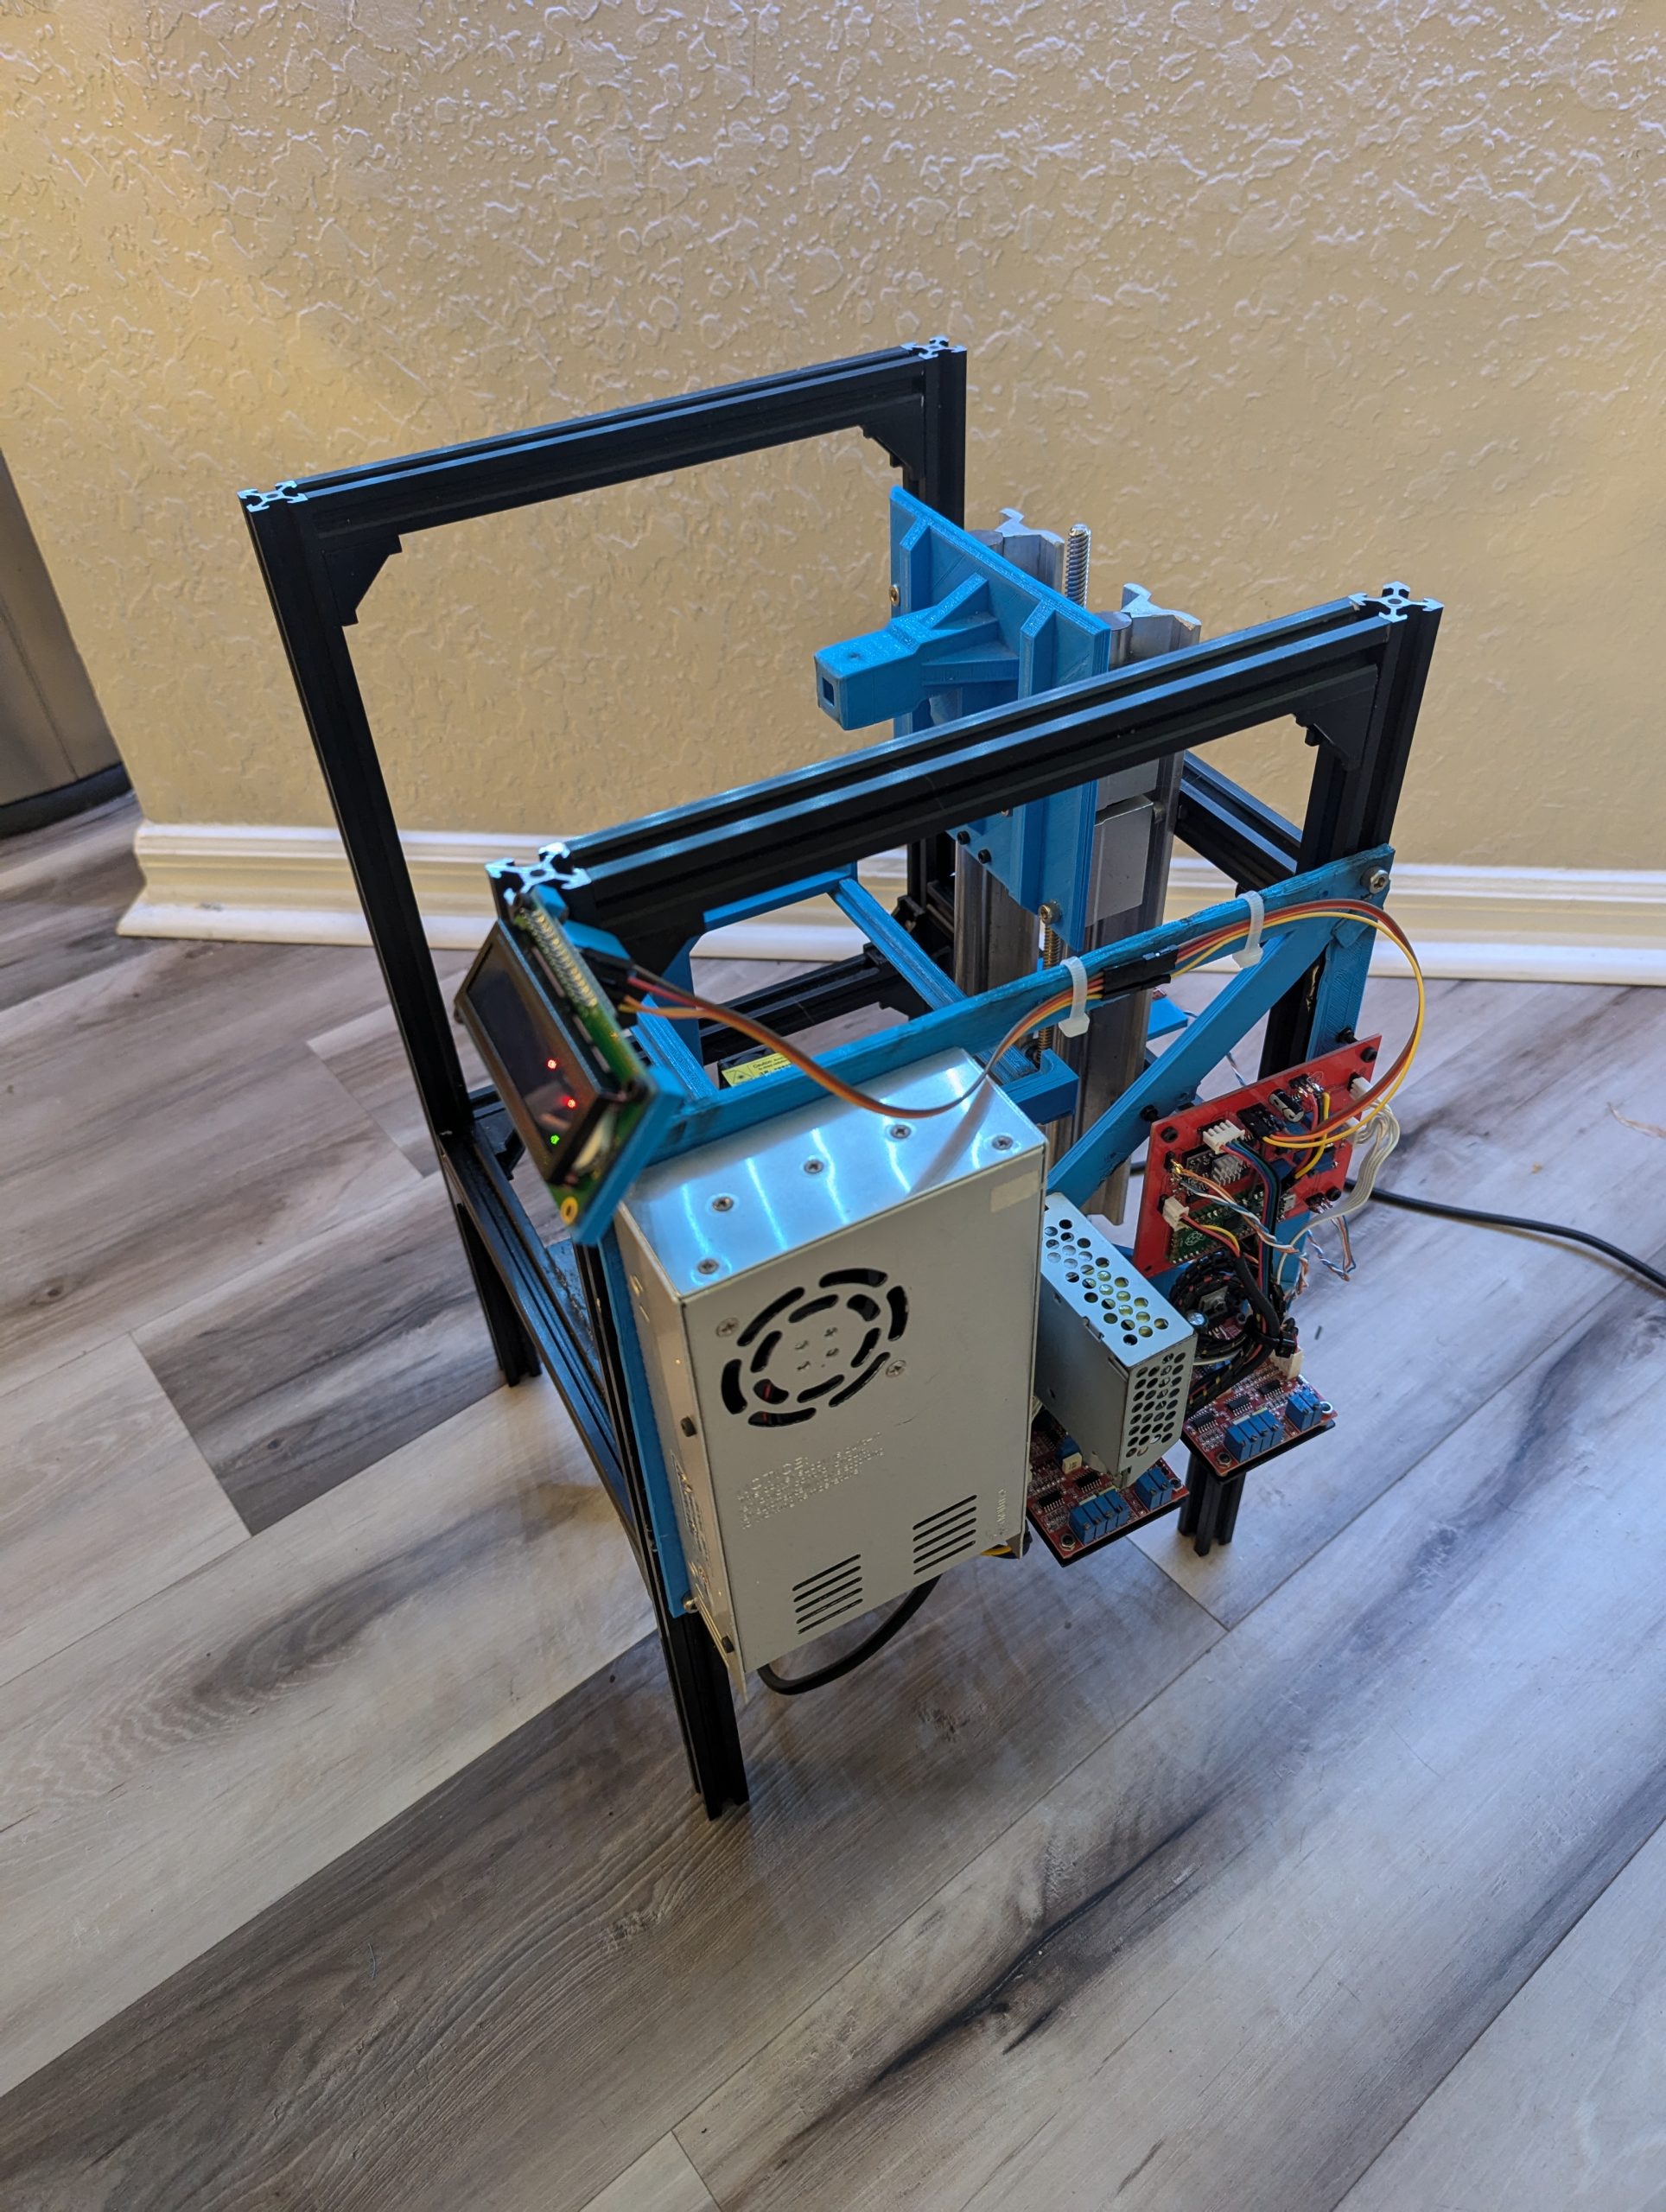
System Architecture
The foundation of this project is a set of generic laser galvos that can be purchased off Aliexpress from a number of manufacturers for about $100. These magnetically actuated little mirrors promise to be capable of drawing 20k points per second, and critically, have the PID control built in so one only needs to deliver two analog values to them and they will quickly and accurately direct themselves to the corresponding point in 2D space.
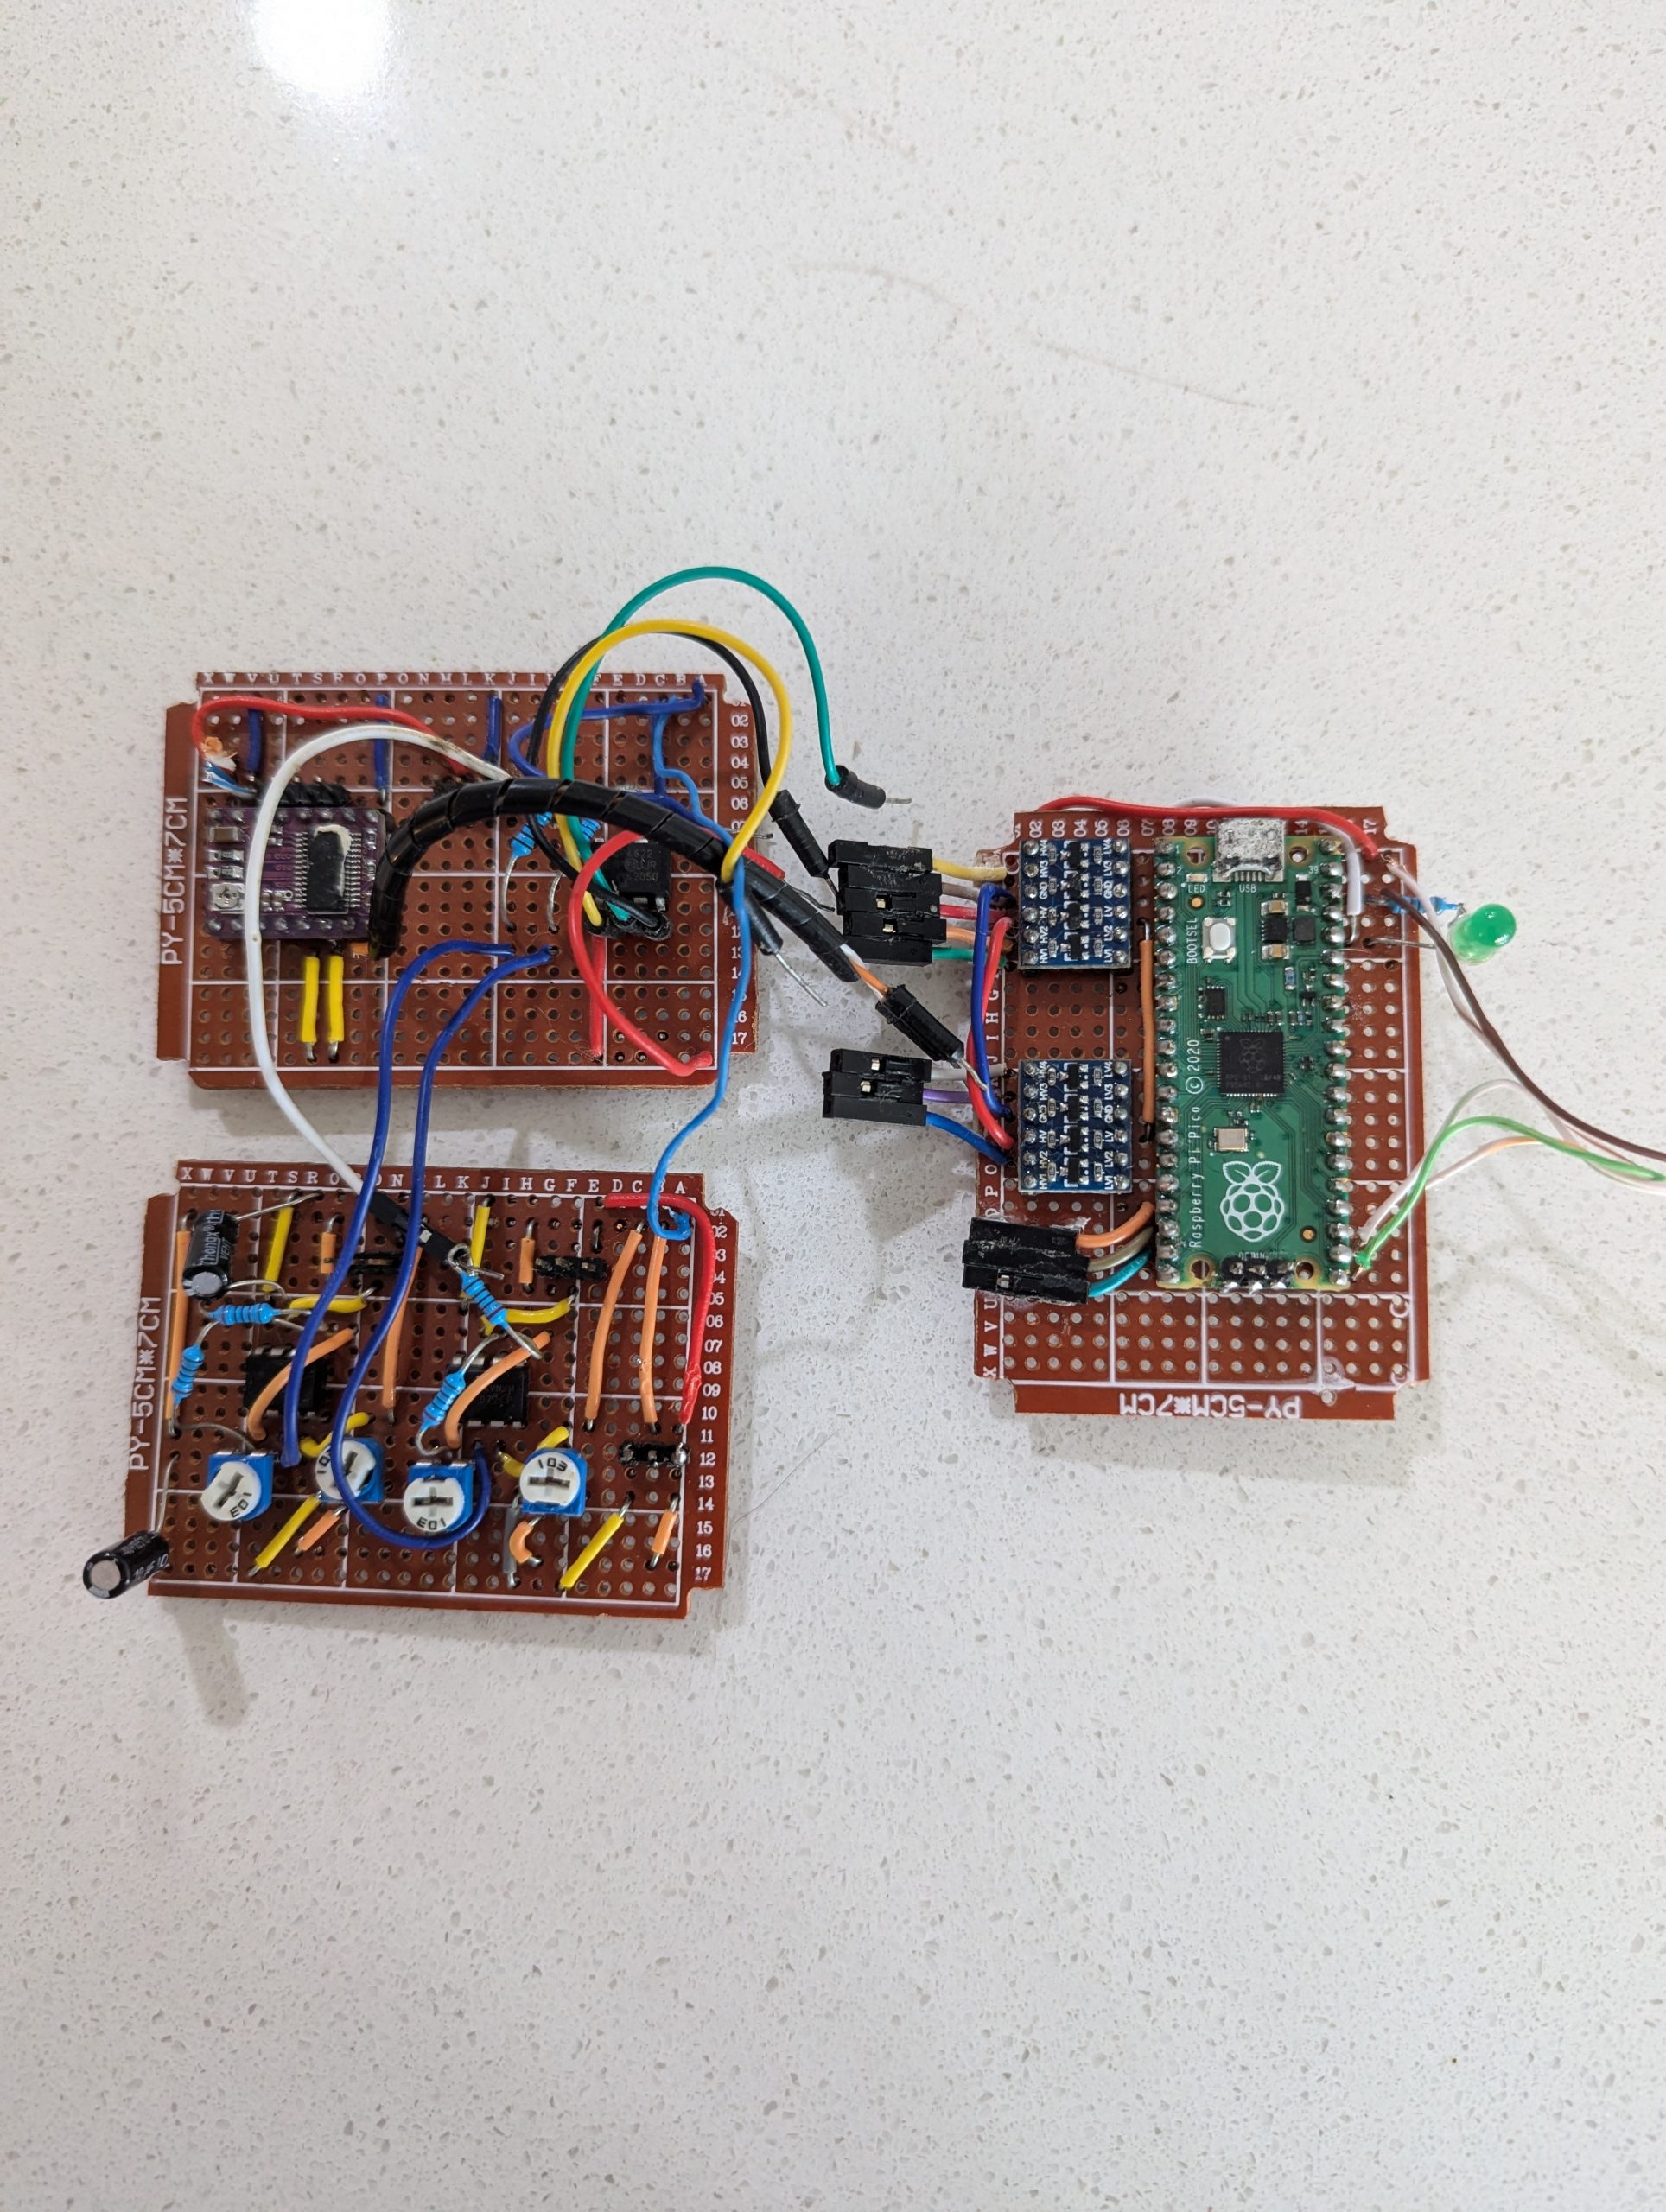
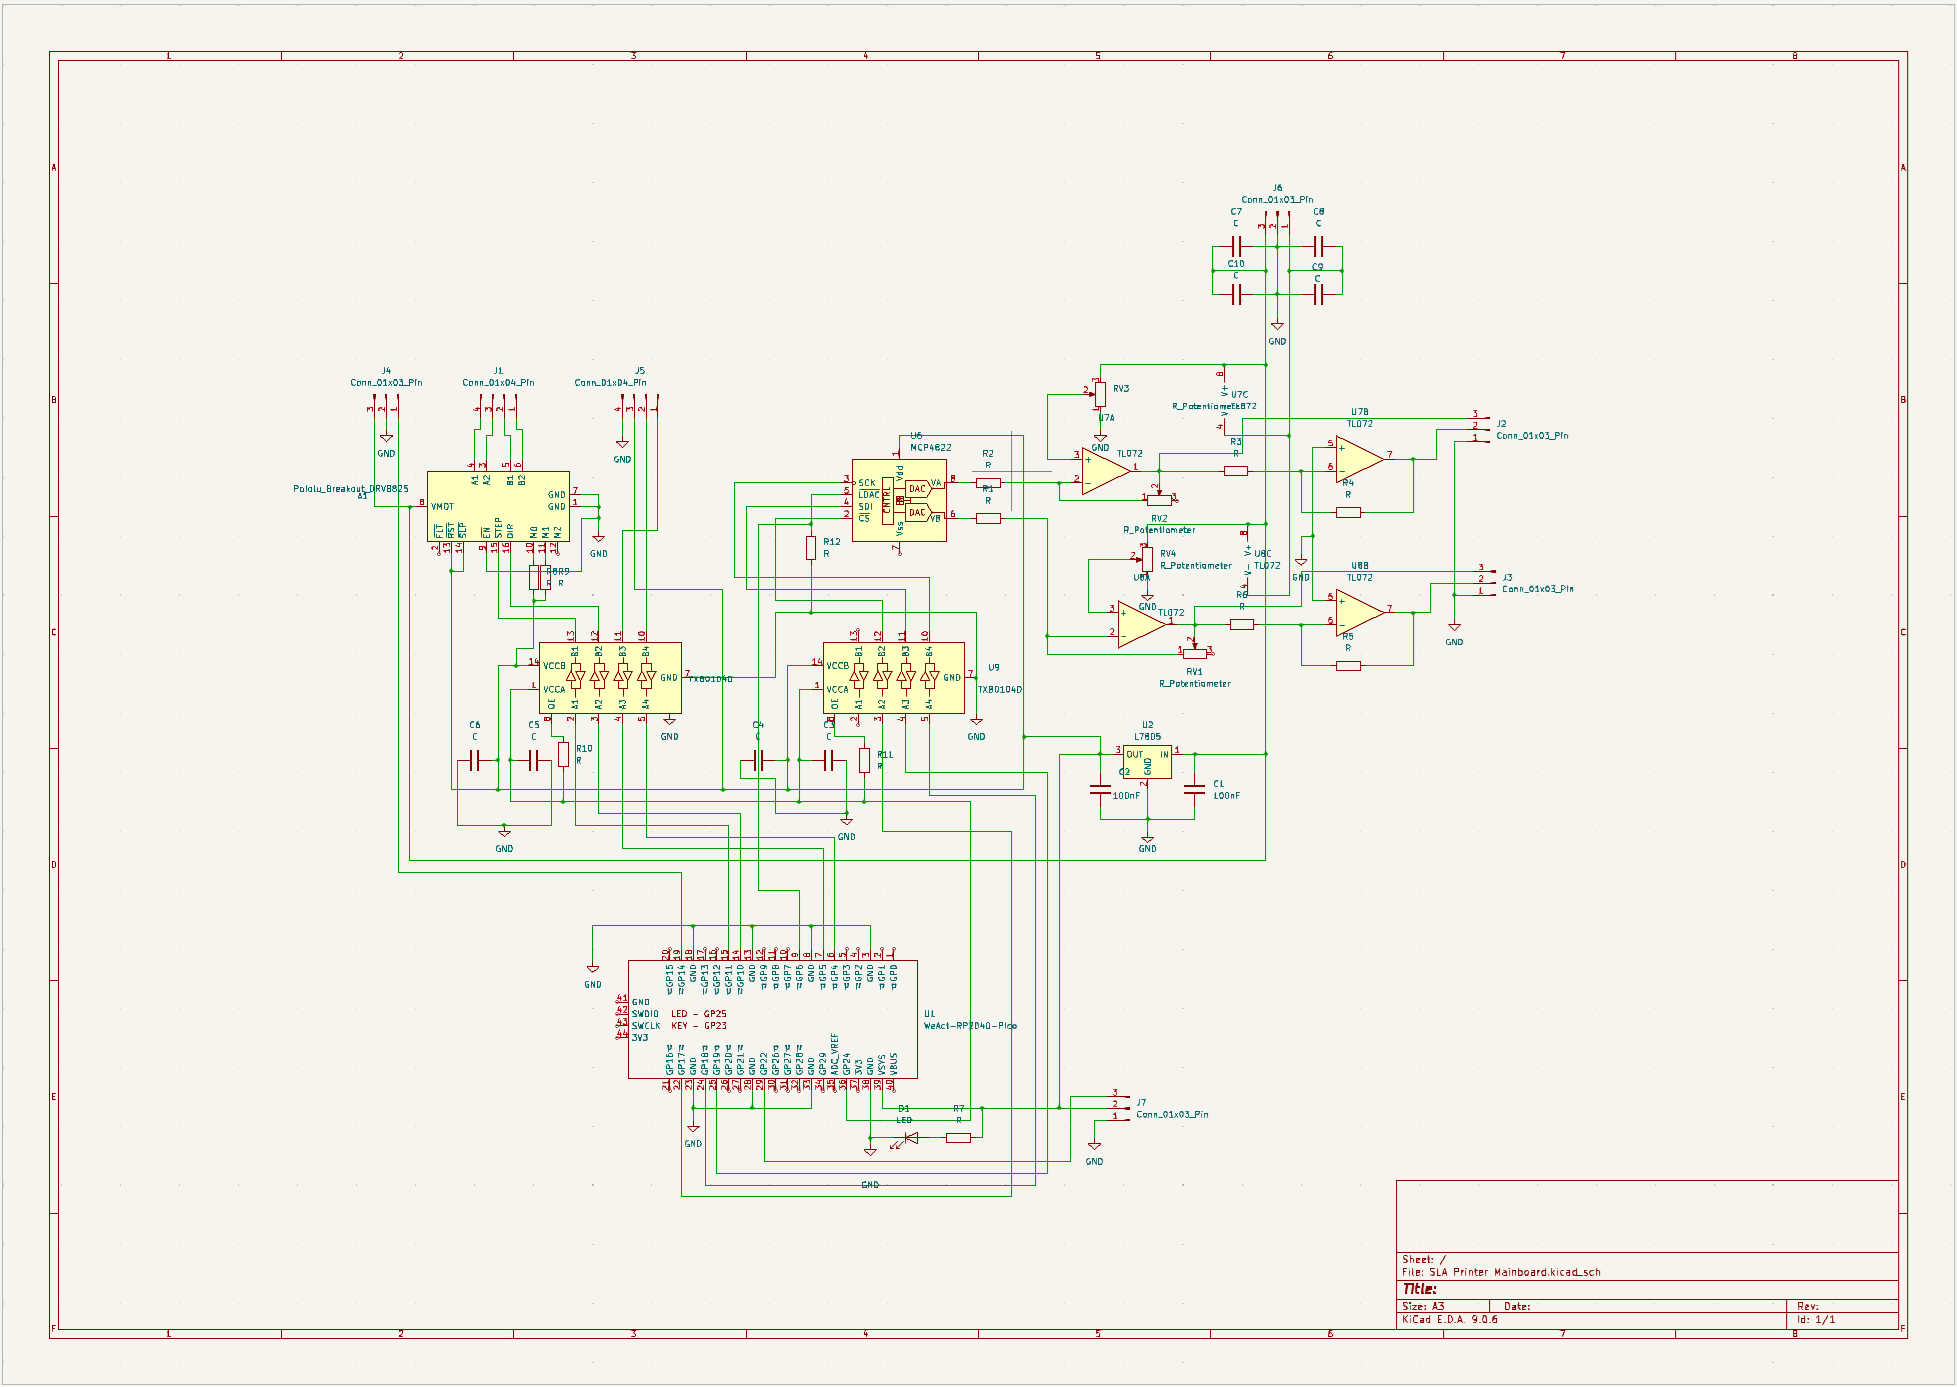
For the microcontroller I decided to try something new and work with the RP2040. This MCU has more than enough horsepower for this project and it opens the door to program in a number of different languages, though predictably, I just chose to go with Arduino. The RP2040 is responsible for sending values over SPI to an MCP4822 2-channel 12-bit DAC these values correspond to the XY coordinates of the point I want to draw with the laser. These analog values must first be level shifted and then an inverted copy made because the galvo controller expects a bipolar input. This just required two TL072 chips with two op amps per chip and some resistors. The Z axis is accomplished with a leadscrew and a NEMA 17 stepper motor driven by a Pololu driver module. The RP2040 uses 3.3V logic while everything else expects 5V, this was solved using TXB0104 bidirectional level shifters. Initially everything was prototyped somewhat ugly on three breadboards, but I later designed a PCB which integrates everything into one small package. The galvo kit I purhased conveniently includes a bipolar 15V power supply. In addition to powering the galvo driver boards, the op amps receive +/- 15V to their supply rails so they can generate the appropriate signals. An additional 12V power supply powers the stepper motor driver and laser.
The laser is a 0.5 watt 405nm diode laser purchased from Amazon for about $50. This is a powerful laser generating a frequency that is particularly damaging to the retina, so I was extremely careful. Those cells do not grow back. Honestly, while I am grateful this technology is so accessible for my project, I am reminded of all those people who died from electrocution after watching videos of people making lichtenberg figures with microwave oven transformers on Youtube. There should probably be regulatory barriers on this sort of laser but I shouldn’t complain. The laser has a simple TTL input which is connected to one of the pins on the RP2040. Currently I am just performing a simple PWM power reduction to a set level, and then switching on and off the laser at that power, but theoretically I have the ability to dynamically adjust the power throughout the print. I have not yet figured how to modify gcode to enable that function.
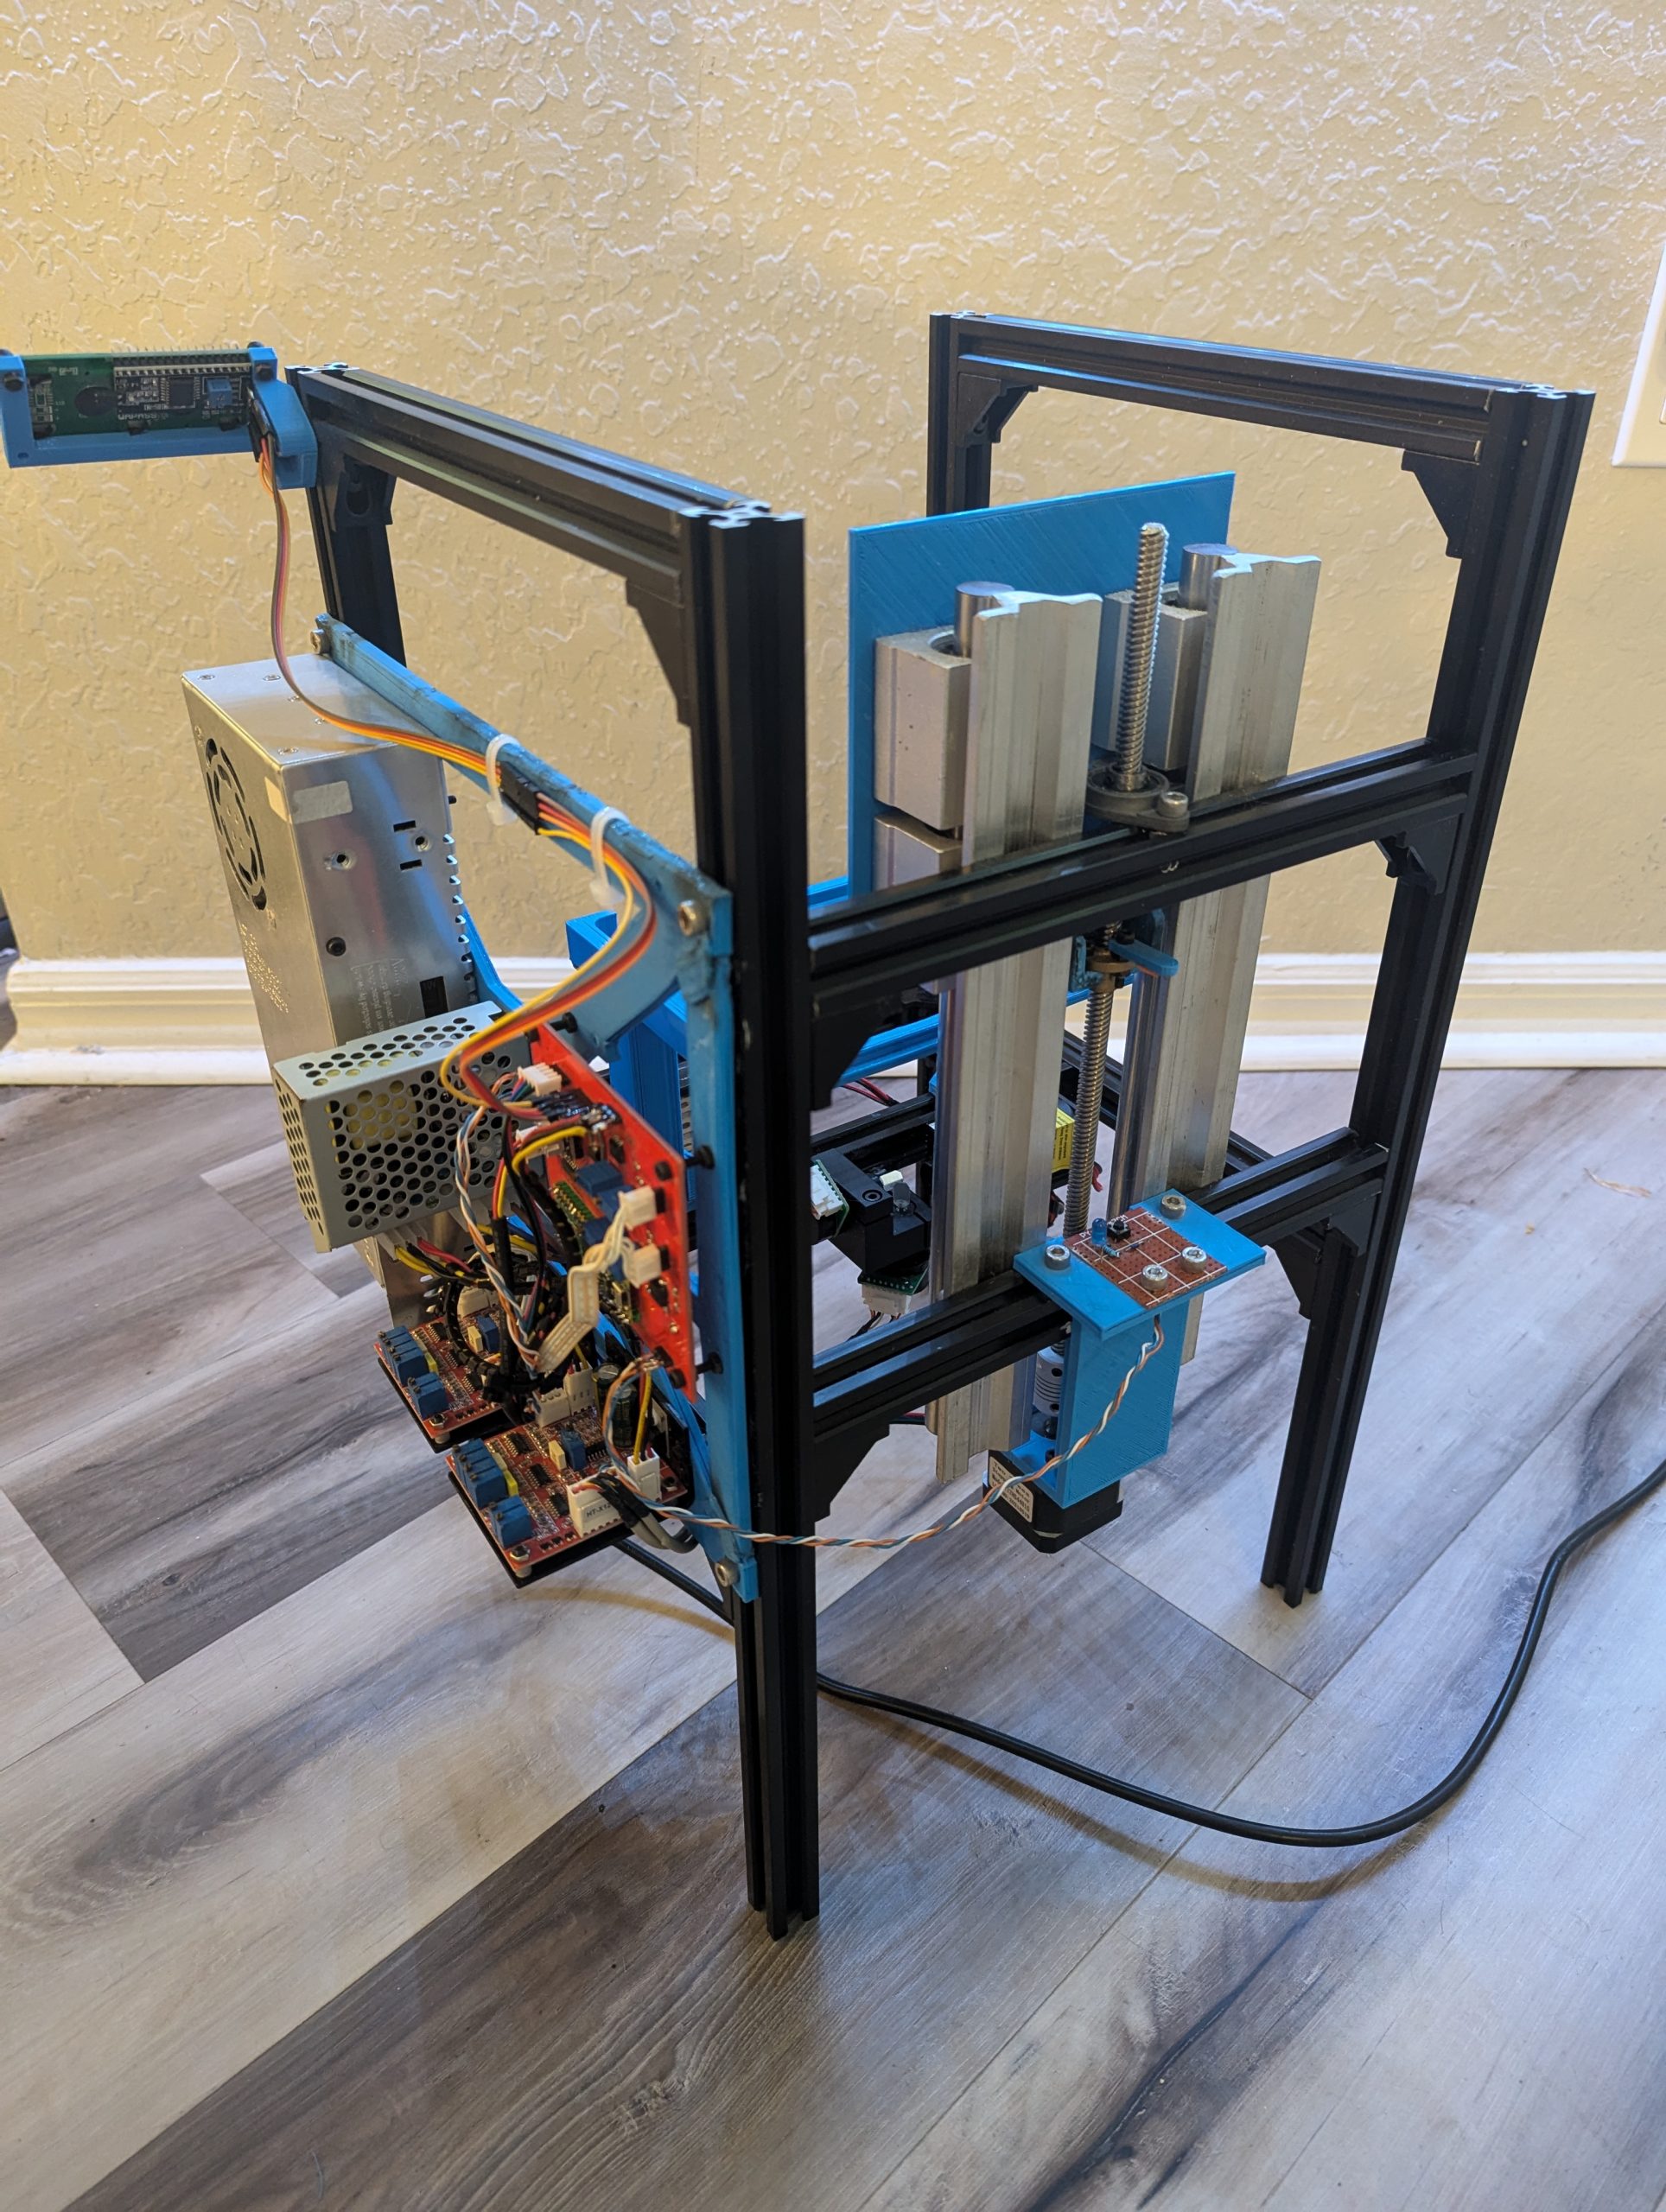
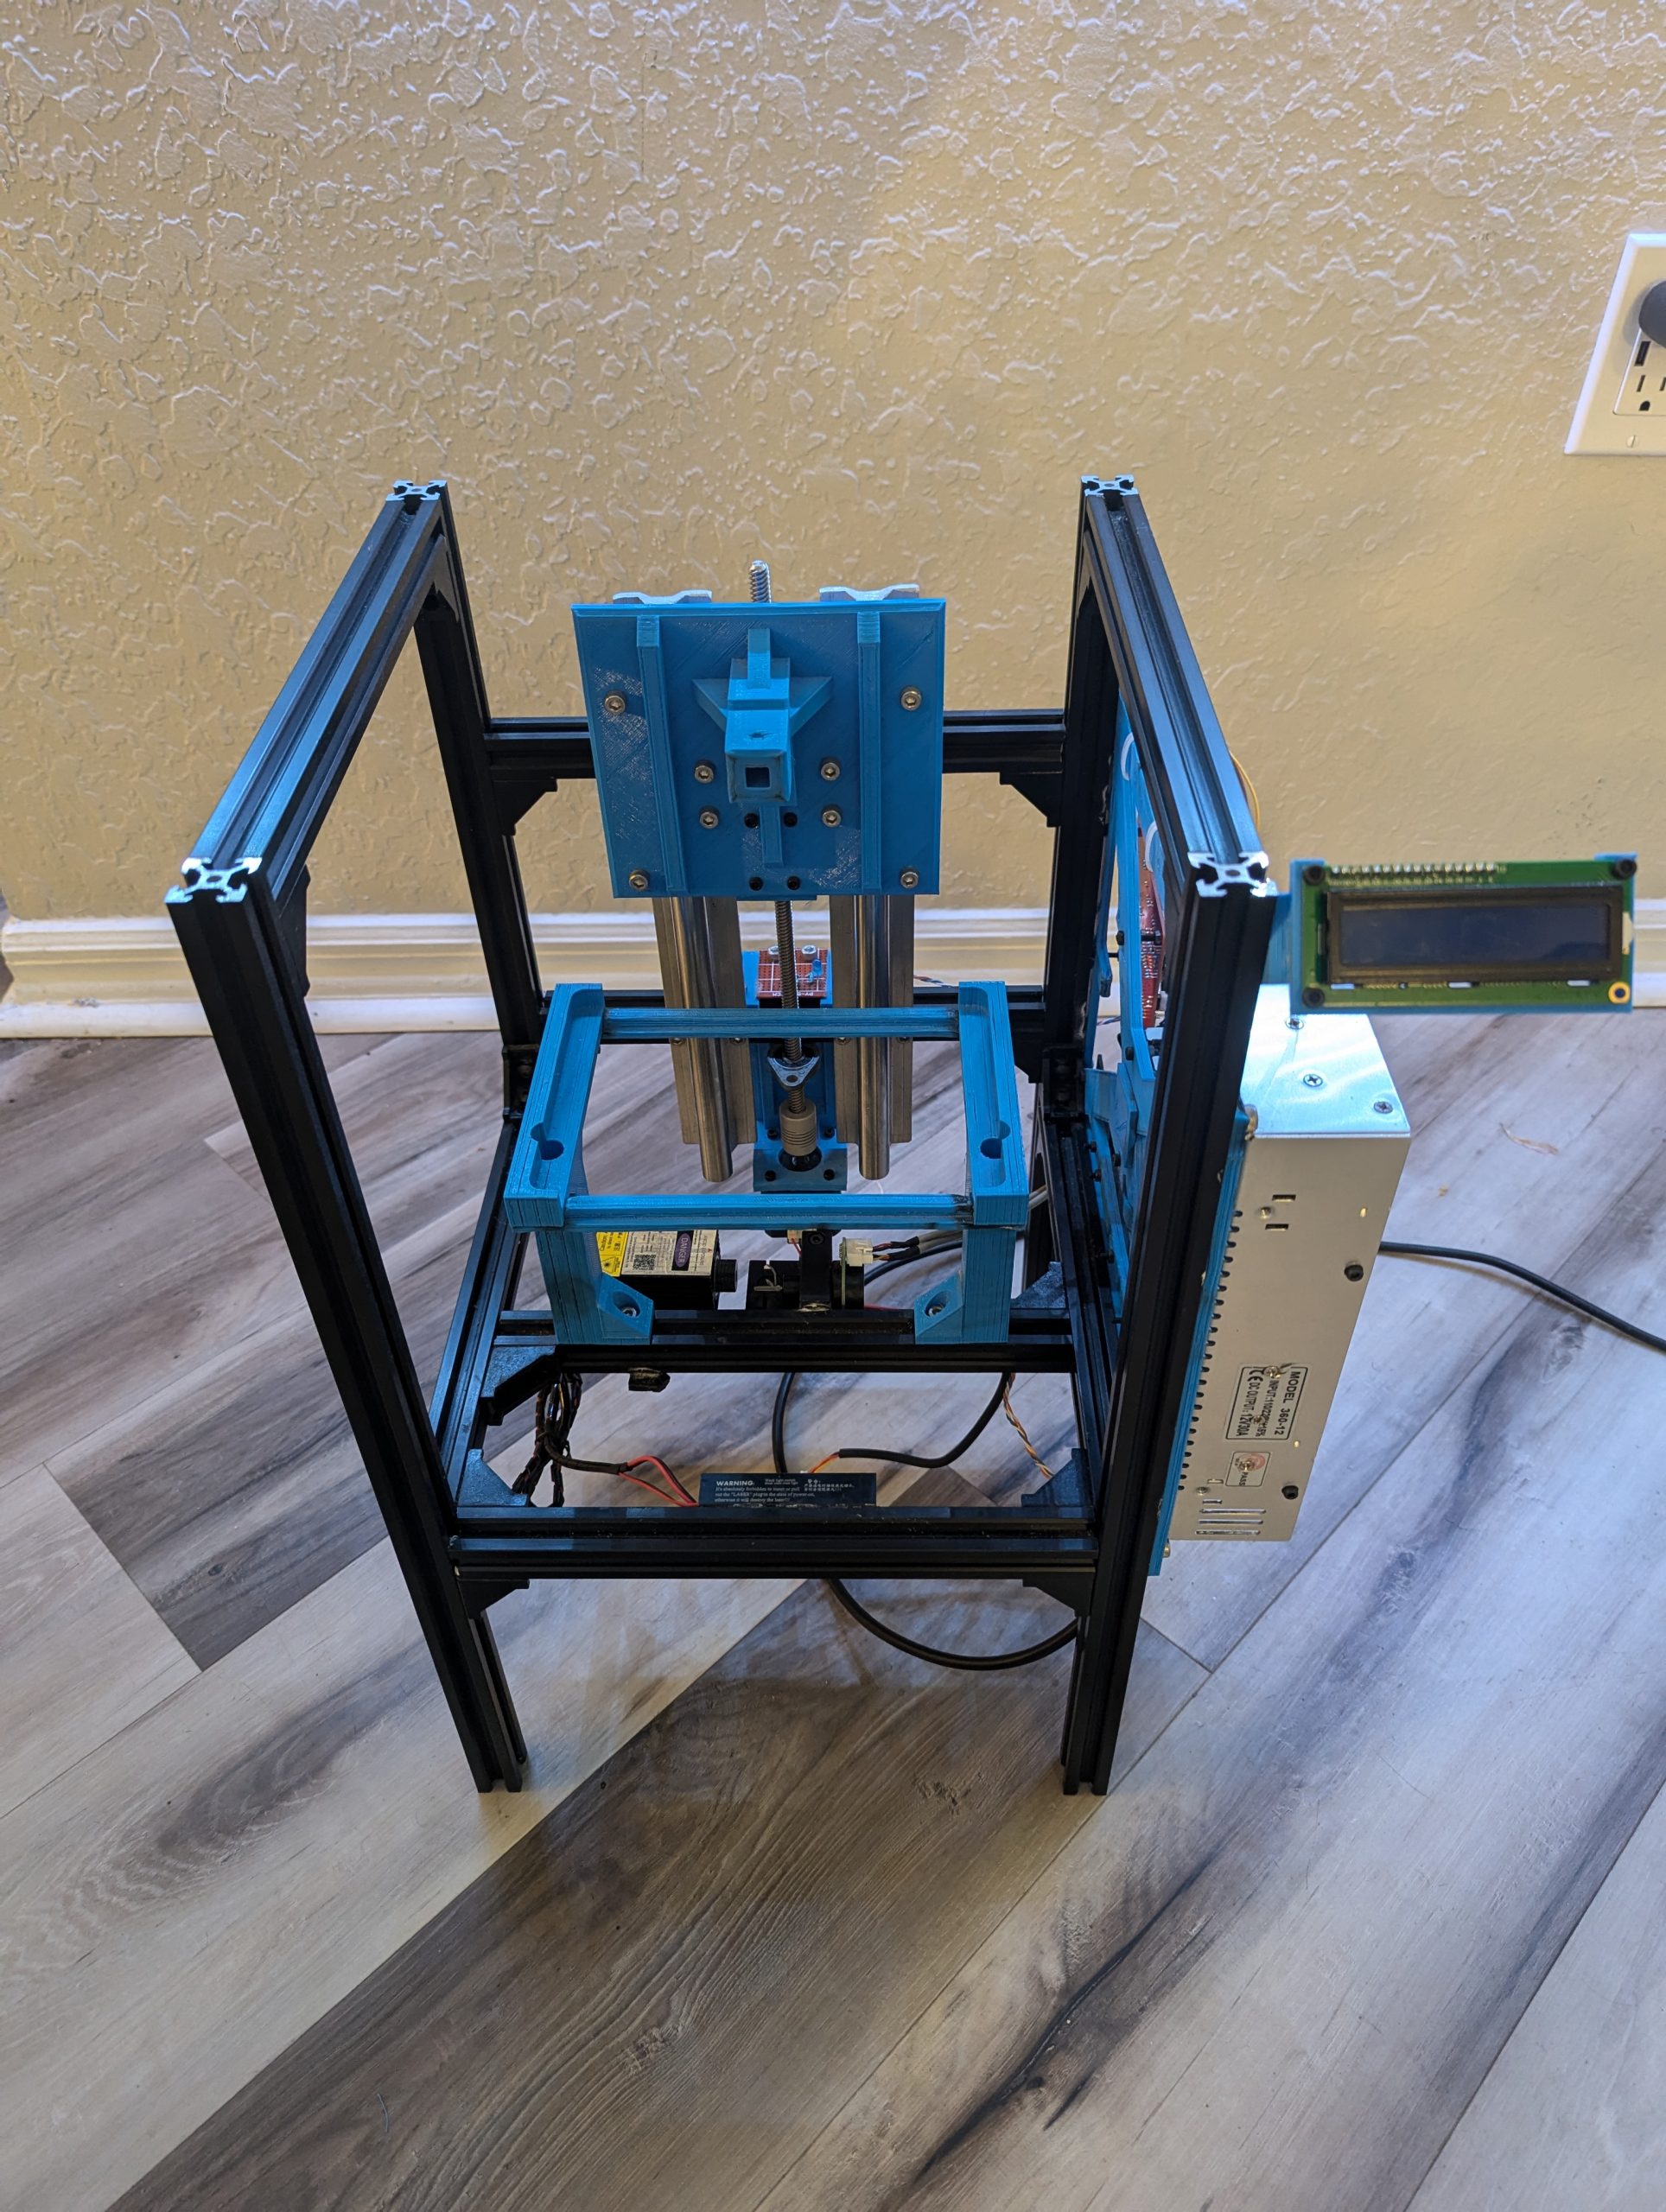
The framework for this printer was constructed of ever reliable 2020 aluminum extrusions and brackets. The rest was 3D printed using a conventional FDM printer and PLA. I borrowed the build plate and resin reservoir from my ANYCUBIC Photon printer (the one I mentioned earlier). The physical layout I have at the moment I s adequate, were I to make any improvements I would try to replace the structure that holds the reservoir and the structure that holds the build plate and moves it up and down on the leadscrew with something entirely metal, as the PLA prints have a bit too much give. I would also try to increase the available build height, which at the moment is restricted to about 4.5 inches. The distance between where the resin reservoir is mounted and the galvos beneath it is dictated by the size of the plate and the maximum deflection angle the galvos can achieve, which in my case is +/- 20 degrees.
Python Code
lorem ipsum
Arduino Code
Lorem ipsum
Image Gallery